


How To Install Vinyl Plank Flooring


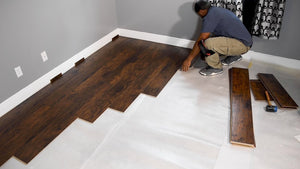
One of the most popular home projects is the installation of luxury vinyl plank flooring (LVP). It is versatile and rugged, able to withstand kids and dogs, and isn't prone to scratches or wear. Another significant advantage is that vinyl plank flooring is slip and stain-resistant and waterproof. Easy to install and relatively inexpensive, homeowners quickly do a major home facelift with little fuss and a small price tag.
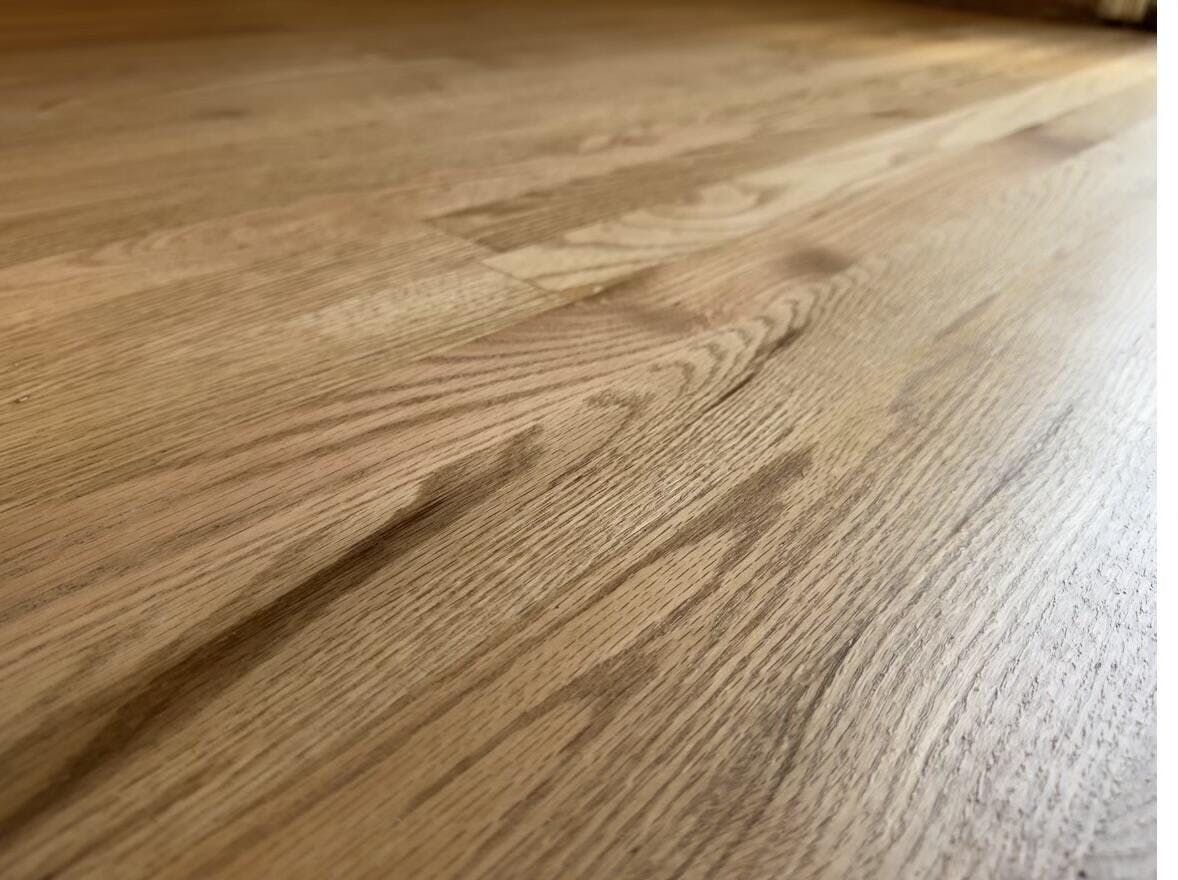
What is Vinyl Wood Flooring?
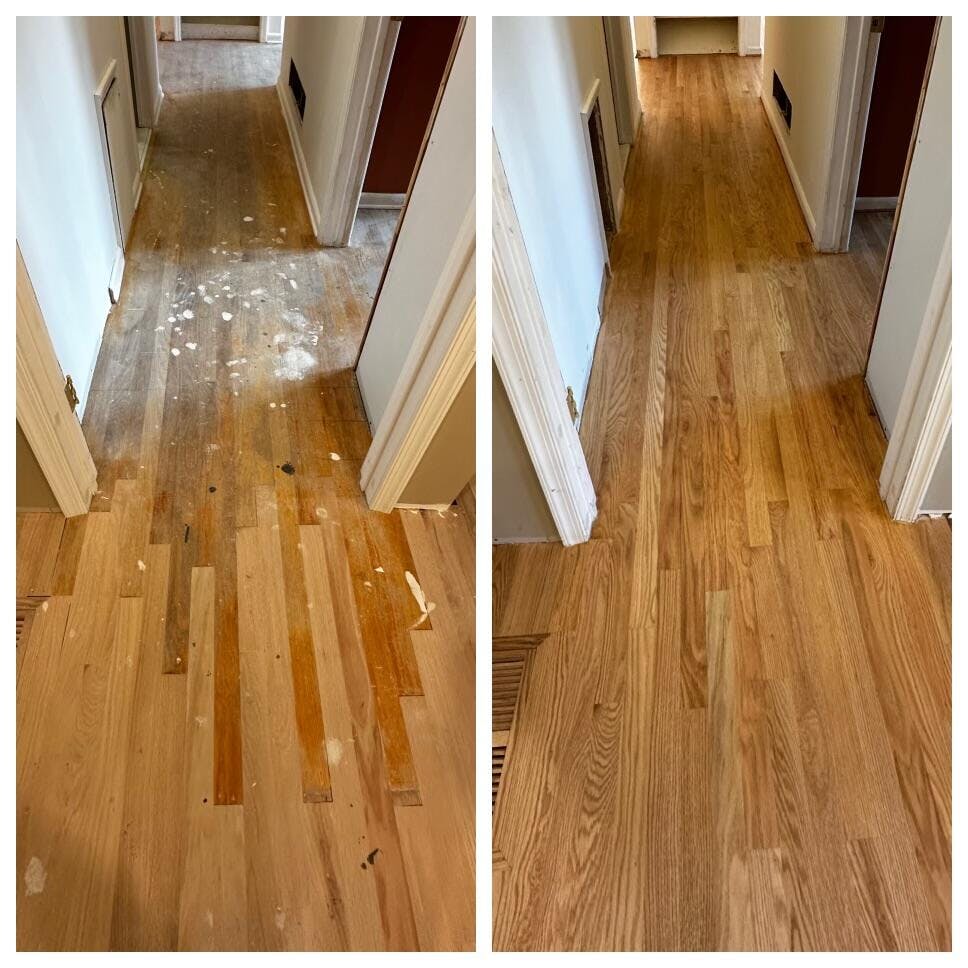
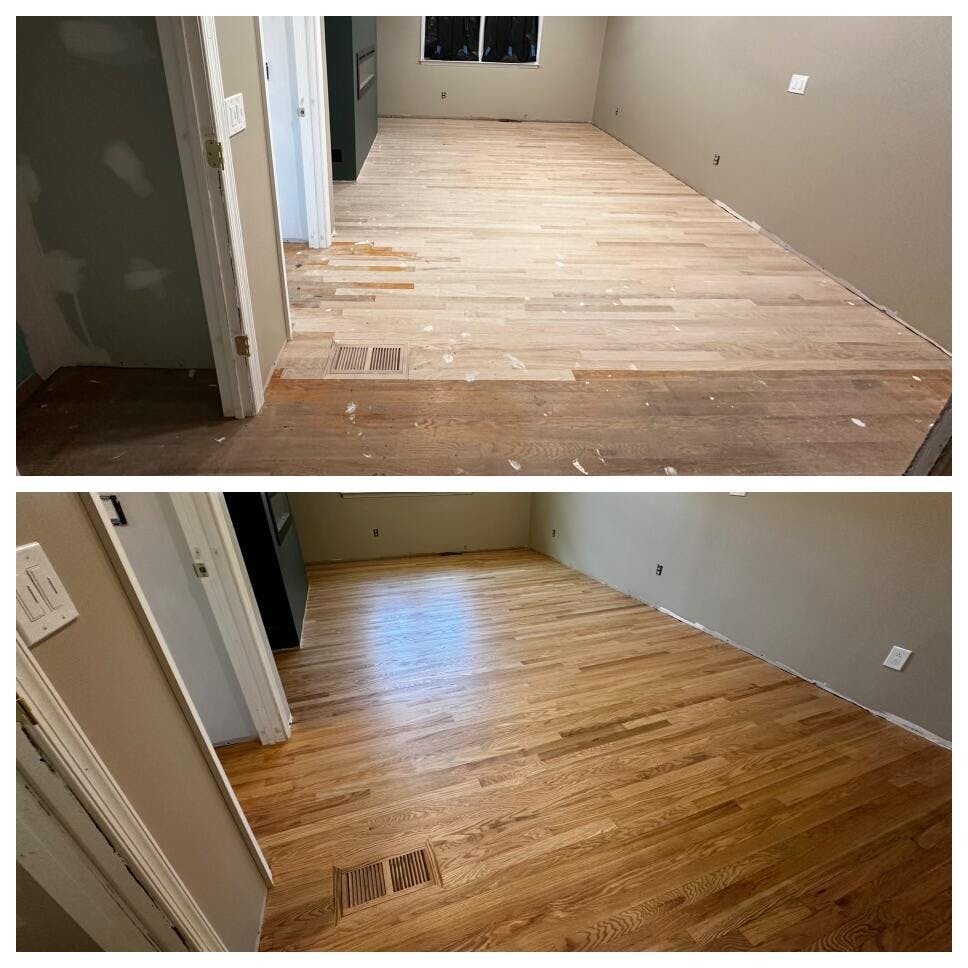
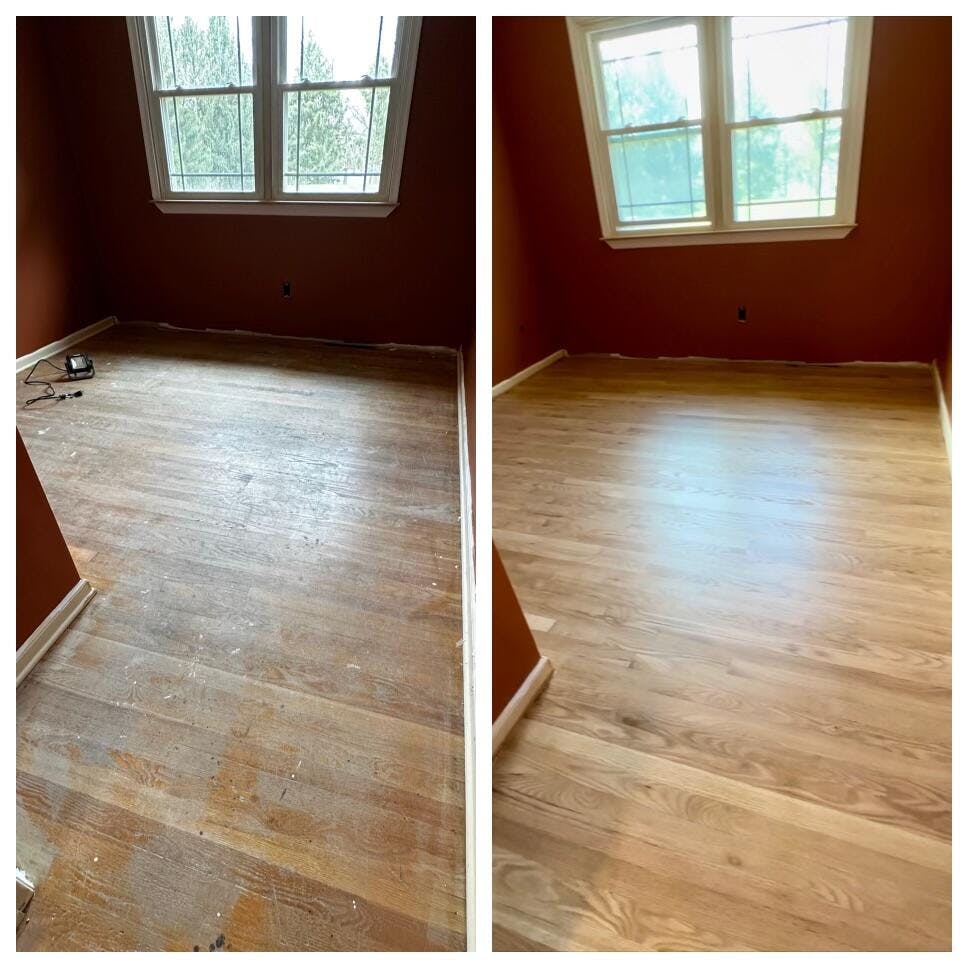
Hardwood flooring is beautiful and timeless, but it is also expensive. Although hardwood lasts for generations, it is sensitive to liquids. It doesn't hold up well in floods, spills, or moisture. Vinyl wood flooring is an excellent alternative that mimics real hardwood.
The difference is that hardwood is made of trees like oak, cherry, or maple, while vinyl is made of petroleum. A manufactured material, vinyl plank flooring, is printed with designs to look like hardwood. The options are endless, and the appearance is convincing! Pricewise, quality hardwood costs anywhere from $8 to $25 a square foot, and vinyl plank runs $2 to $5 per square foot.
How to Install Plank Flooring on Concrete
Concrete is ideal for installing LVP as long as it is dry and level. Unlevel areas you should sand to create the appropriate finish. Concrete sub-flooring often needs underlayment to give a softer walking area to LVP, but it depends on the product. Many LVP materials include built-in underlayment, so check your product beforehand. Keep in mind that any uneven surface will show regardless of built-in underlayment. In this case, I would recommend adding a 6mil plastic under the Vinyl Plank to protect it from any moisture rising up from underneath, especially if installing the Vinyl Plank on Concrete or plywood with crawlspace or unfinished basement.
Steps to Installing LVP
Although the installation is simple, it does require some planning. Knowing and following the steps equates to a successful project. Tools required are:
- Sander
- Sandpaper
- Carpenter's square
- Hammer
- Straight edge
- Fine-tooth saw
- Utility knife
- Flat pry bar
- Tape measure
- 1/4 inch spacers
- Nailset
- Pliers
- Drawbar tool
Planning
The first thing you want to do is plan how you will lay the flooring. Usually, you should start laying planks parallel to the room's main wall or, if it is a bathroom, the bathtub wall. Each end seam of each row you apply will be at least 6 inches staggered from row to row. Remember that your first row shouldn't consist of full-sized planks to create an even pattern.
Preparation
We have already discussed the importance of working with a smooth, even surface. Additionally, do a thorough inspection to ensure the subfloor is clean, free of debris, and dry.
Remove the baseboards and molding to make the installation easier. Door case moldings can remain intact, or you can cut the flooring to fit around it. This is up to you as both require a little work.
For subflooring with holes or depressions, fill with the appropriate patch product. Sand areas that are slightly raised.
Getting Started With a Click Floating Type Flooring
Starting with your main wall, center a full-size plank in the middle of the wall. Lay the entire line of planks on this wall outward, cutting the last plank to fit. Add the 1/4 inch spacers along the wall butted up against the planks.
Remember to stagger the next row of planks by placing the end joints at least six inches from the previous end joint.
Click lock Floating Floors has a locking system. To make this happen, hold the plank at an angle and fit it into the plank already lying flat in position. Lock the plank into place while pushing it. When you reach the final plank row, use a drawbar to position the last plank in place.
Cutting the Vinyl Plank Flooring
Use a utility knife and a carpenter's square to cut the flooring. Starting on the front side of the plank, run the knife over the surface several times to score it. It is better to do it this way than all in one cut. If you are using a handsaw, one cut should do the trick.
Next, flip the plank over and fold it back. If it doesn't snap off, score the back and try again. This ensures that the front of the plank looks to be a clean cut.
How to Install Glue Down Vinyl Plank Flooring
Glue down or peel and stick vinyl plank flooring doesn't have a tongue and groove attachment. Instead, it uses glue to adhere to the subflooring. To install, place the planks end to end and side to side with no spaces except for the gap between the wall and the planks.
How Much to Install Vinyl Plank Flooring?
After reading the instructions, a DIY vinyl plank flooring project may seem overwhelming. And that is okay - not everyone is cut out for DIY! So you may be asking how much to install vinyl plank flooring?
Installation costs vary according to your area, preparation required, such as old flooring removal, clean-up, subfloor repairs, etc., and whether you need underlayment installed. The typical installation is in addition to the price of flooring, at $2-$4 per square foot. Some contractors charge by the hour, at $30-$60.
It is wise to do some research on an installer and get recommendations. Someone who provides cheaper labor may or may not equate to quality work. It costs more to fix mistakes than to hire a contractor you can trust.
WoodWudy Wholesale Flooring offers high-quality, premium-branded flooring at wholesale prices! We carry a variety of flooring that is eco-friendly and made from renewable sources. With our low price guarantee and price matching you always get the best price at WoodWudy! Shop online and order free samples of your favorites! Or visit our store location at 907 Hwy 85 South, Fayetteville, Georgia to see everything in person.
- Amadou Bah